Overview
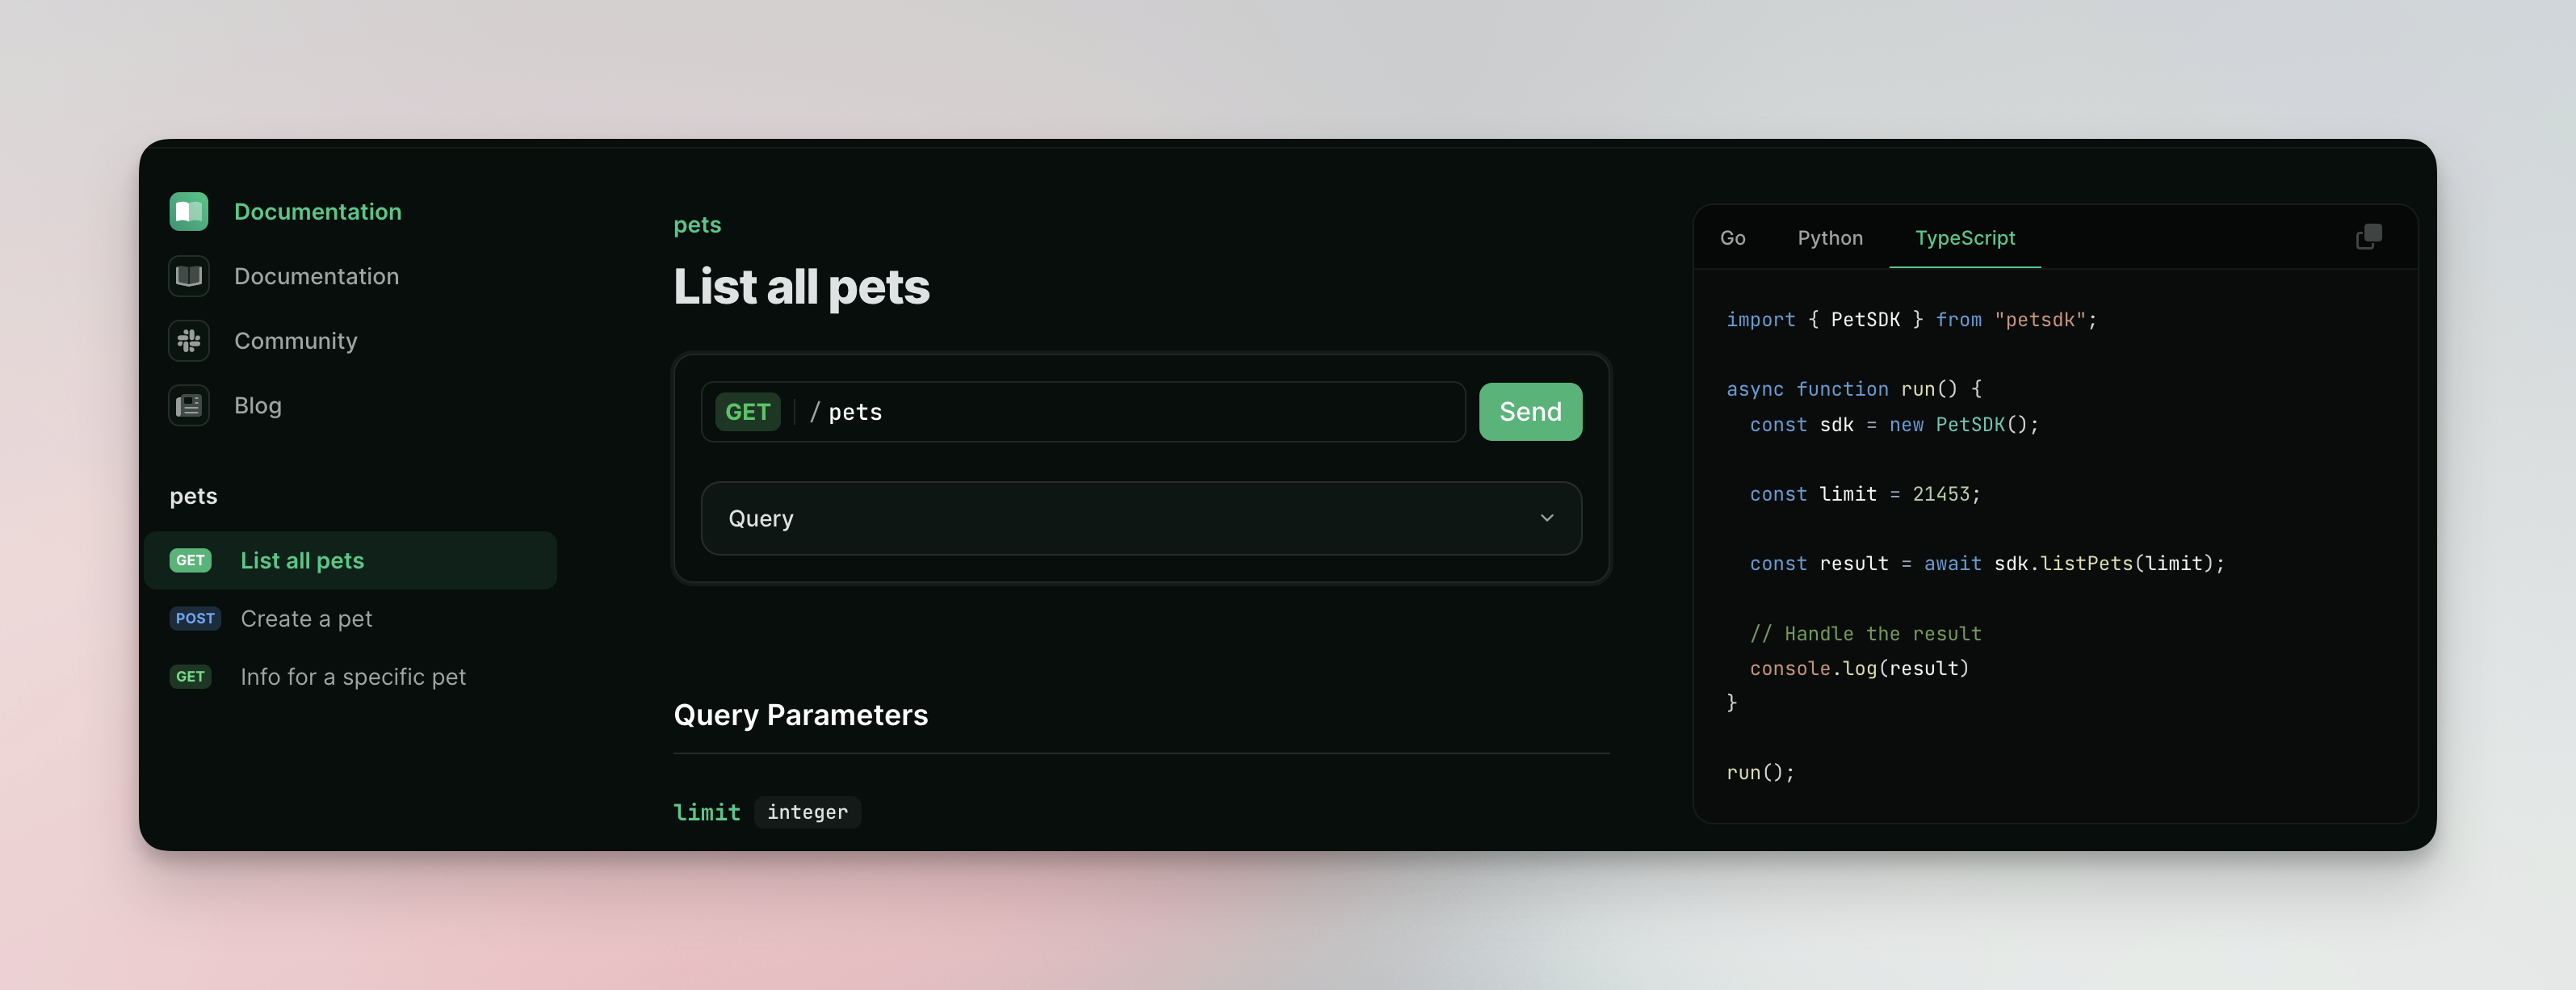
You can now integrate Speakeasy generated code snippets from your SDKs directly into your Mintlify API reference! SDK Usage snippets will be shown in the interactive playground (opens in a new tab) of your Mintlify powered documentation.
This following documentation will walk through the setup steps you can take to use Speakeasy workflows to automatically sync the code sample from your SDKs into your Mintlify docs repository.
Speakeasy SDK Repository Changes
In your Speakeasy SDK repos add the following addition to the targets section of your .speakeasy/workflow.yaml file to ensure code samples automatically get produced alongside your SDK generations.
Code samples will now be generated in the form of an overlay file that will be used in the Mintlify docs repository.
Mintlify Docs Repository Changes
The workflow files produced will automatically bundle together your source OpenAPI spec and Speakeasy code samples into a single output file - openapi.yaml. Mintlify will use this output file when constructing your API reference. For more information on this process see here (opens in a new tab).
Interactive CLI Setup
Run the following commands to setup your .speakeasy/workflow.yaml and .github/workflows/sdk_generation.yaml files through our interactive CLI.
speakeasy configure sourcesspeakeasy configure github
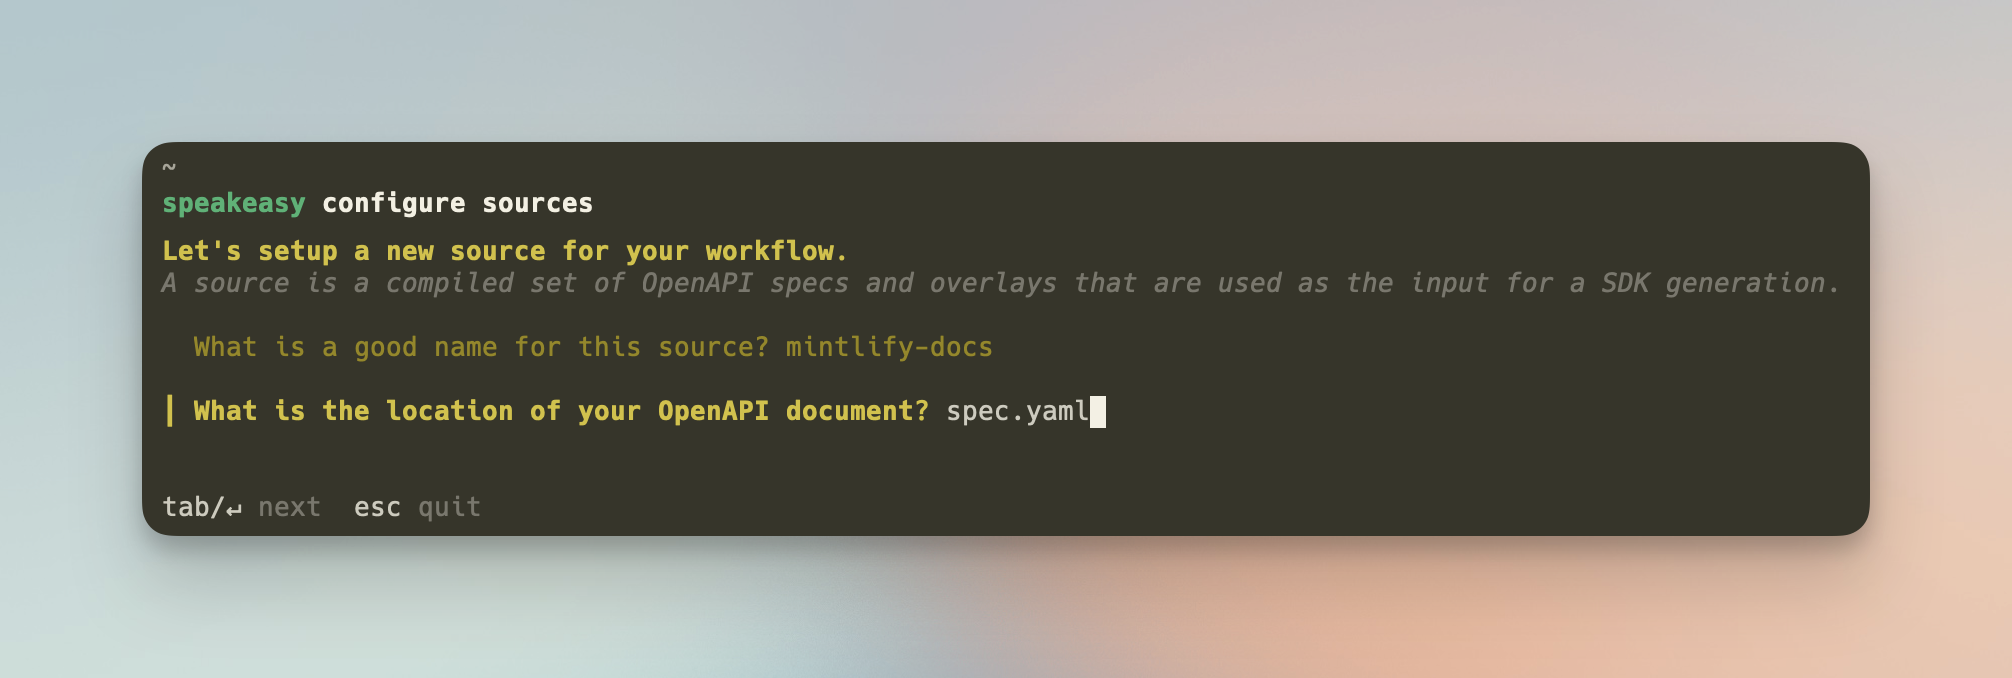
Set up your source spec. This is the OpenAPI spec that you want to generate code samples for. Often it is the same specification used to power your Mintlify docs.
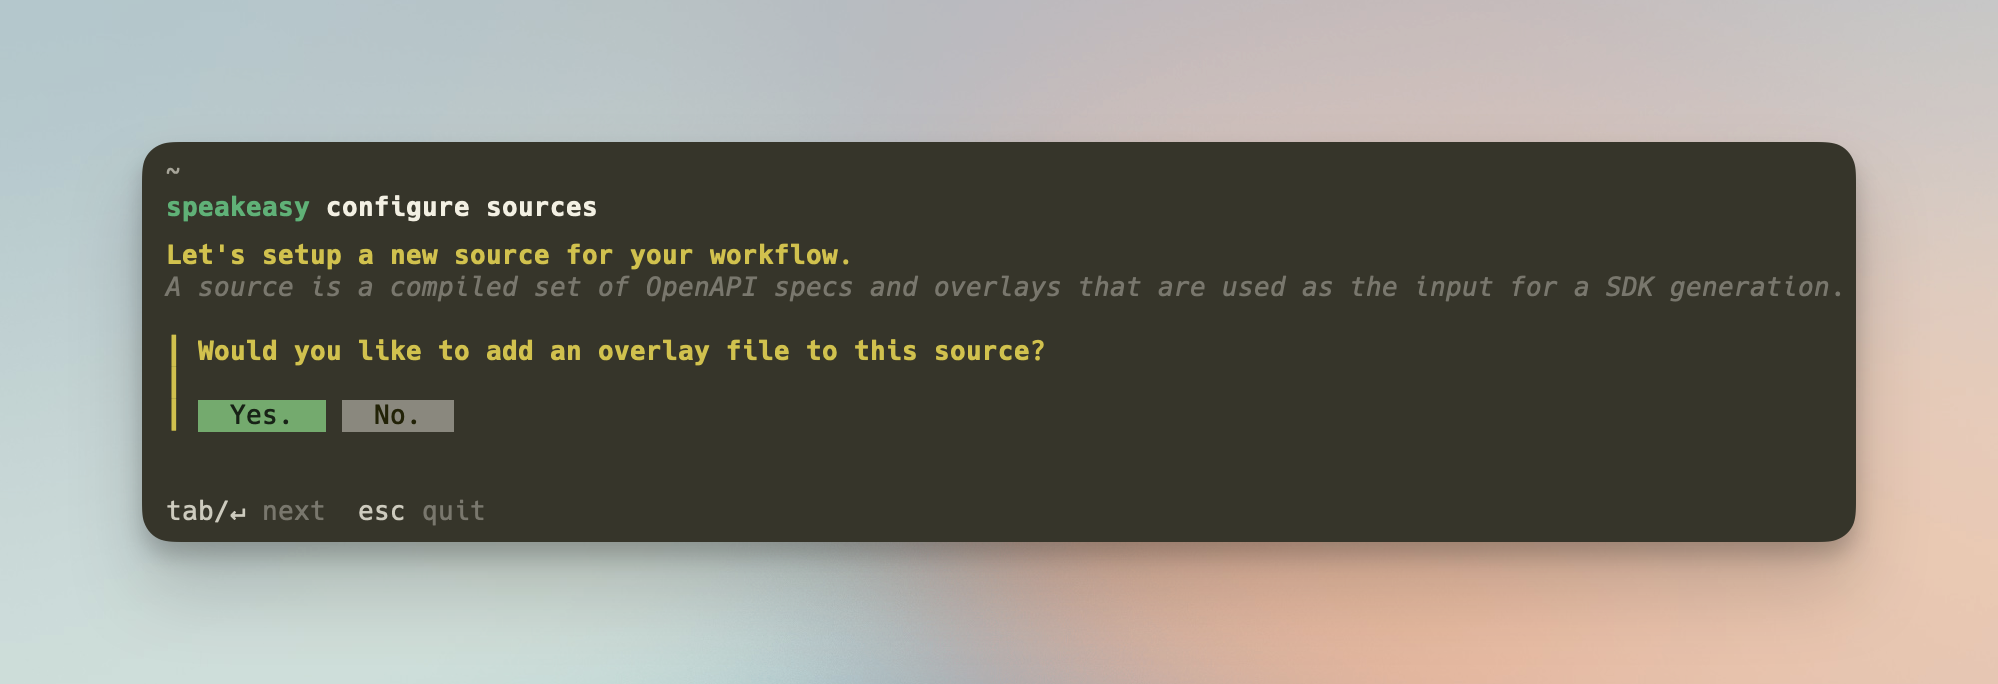
We'll now add the overlay created by Speakeasy to inject code snippets into your spec.
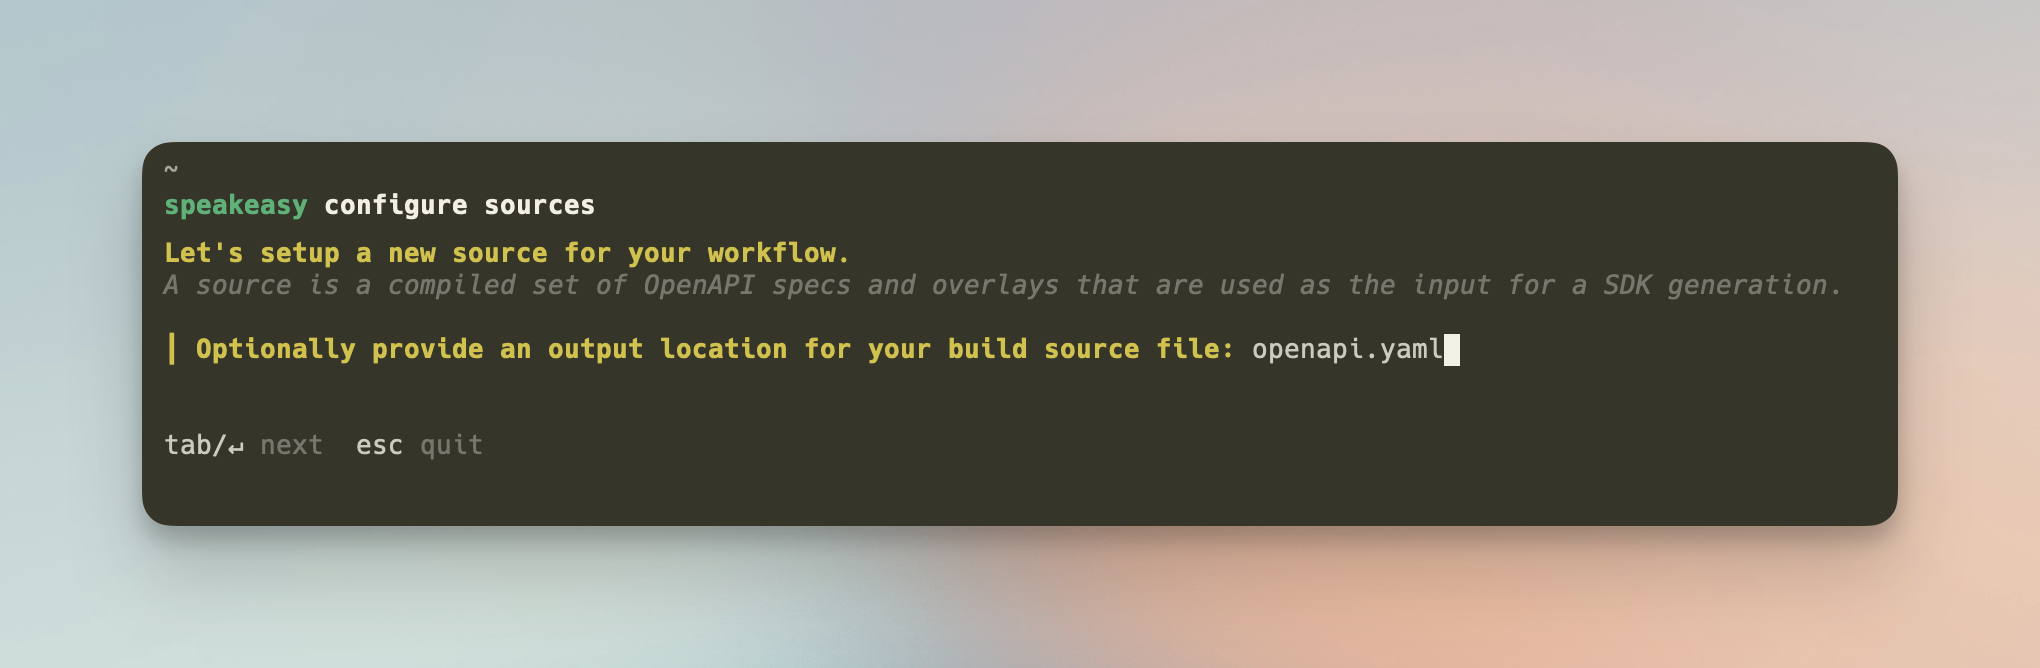
Finally provide a name and path for your output OpenAPI spec. This will the final spec used by Mintlify.
Lastly, make sure you add your SPEAKEASY_API_KEY as a repository secret to your Mintlify repo under Settings > Secrets & Variables > Actions. This can be found in your Speakeasy dashboard API Keys tab.
Manual Setup
Alternatively, you can manually setup the following files in your Mintlify docs repo.
Lastly, make sure you add your SPEAKEASY_API_KEY as a repository secret to your Mintlify repo under *Settings > Secrets & Variables > Actions. This can be found in your Speakeasy dashboard in the "API Keys" tab.